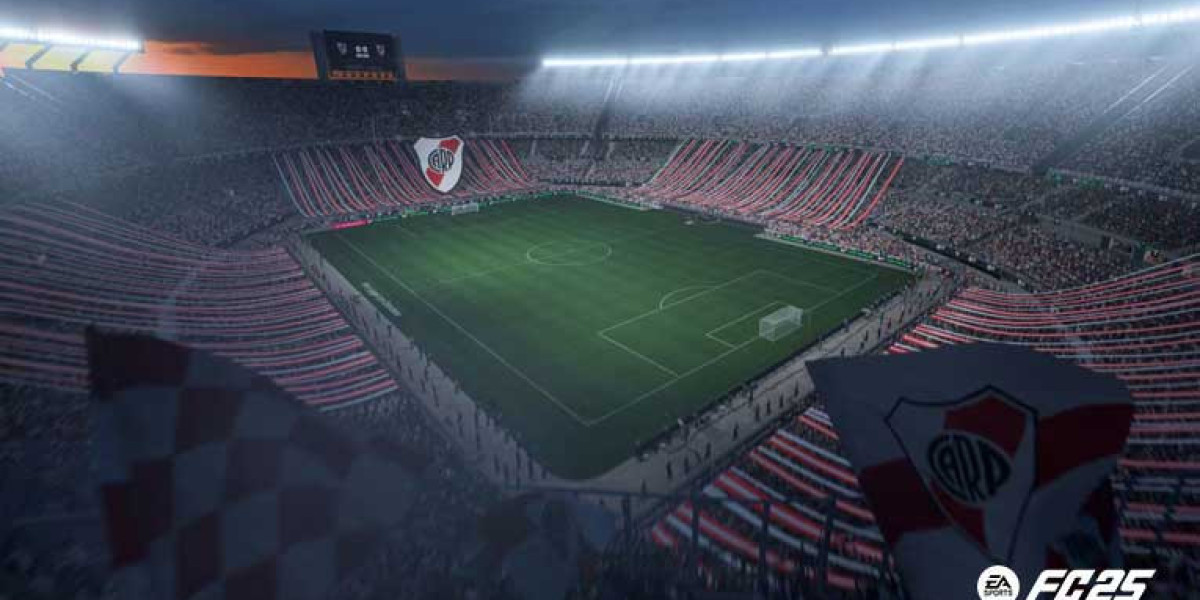
Mastering Bounty goes beyond just knowing the layout—it’s about buy COD BO6 CP outthinking your opponents, leveraging movement, and adjusting your tactics based on the game mode and enemy playstyle. This guide focuses on advanced movement techniques, spawn control, map-specific strategies, and pro-level positioning to help you dominate your matches.
Understanding Spawn Control & Flow
In Bounty, knowing where enemies spawn is critical for maintaining control and predicting movement. Spawns flip based on pressure—if your team pushes too deep into the enemy’s side, they will spawn on the opposite end of the map.
Primary Spawn Points:
- Train Yard Spawn – Located near the train tracks, ideal for long-range engagements.
- Saloon Back Alley Spawn – More centralized, leads into mid-map fights quickly.
- Church Courtyard Spawn – Often the fallback spawn when teams lose mid-map control.
Spawn Control Tips:
- If you hold The Saloon and The Bank, you’ll force enemies to spawn at the Train Yard.
- Avoid pushing too far into enemy territory unless you want to flip spawns.
- In objective-based modes, control The Church to limit enemy movement.
Advanced Movement Strategies
The way you move on Bounty can determine whether you get the drop on an opponent or become an easy target.
1. Slide-Canceling Around Corners
- When moving through tight spaces like The Bank or Saloon, use slide-canceling to peek and engage quickly.
- This keeps your momentum while keeping your hitbox harder to track.
2. Wall-Mantling for Surprise Kills
- Some buildings, like the Saloon, have ledges that can be mantled for an unexpected angle.
- Jumping over fences or railings near the Train Tracks can help you cut off enemies trying to rotate.
3. Bunny-Hopping in Open Areas
- If you need to cross open ground (e.g., Train Tracks or Main Street), bunny-hopping can make you harder to hit.
Holding Power Positions & Controlling Chokepoints
Certain positions on Bounty give a huge advantage in firefights.
1. The Saloon Rooftop (King of the Map)
- If you control the Saloon rooftop, you have sightlines over most of the map.
- Best for snipers and assault rifles, but expect grenades to be thrown your way.
- Counterplay: Flank through the side entrance or use a Smoke Grenade before pushing up.
2. The Church Tower (Long-Range Overwatch)
- The Church tower is a high-risk, high-reward sniper nest.
- Since it has only one entrance, place a Proximity Mine or Claymore near the stairs.
- Counterplay: Flashbang the tower and rush before the sniper recovers.
3. The Bank Vault (Defensive Stronghold)
- If you need to hold an objective, the Bank is perfect for defensive play.
- Use an LMG with cover fire to hold down the main entrance.
- Counterplay: Toss a Thermite Grenade into the vault to force campers out.
Mode-Specific Advanced Strategies
Hardpoint Strategies
- The Saloon hardpoint is the most contested—use trophy systems to block grenades.
- Rotate early to the Train Yard hardpoint, as it’s easier to hold with an LMG or sniper.
Search & Destroy (S&D) Advanced Plays
- Smoke off long lanes (like Main Street) to limit sniper angles.
- Fake plant the bomb to bait aggressive defenders before committing.
Kill Confirmed & TDM
- Deny enemy kills by covering dog tags with Claymores or Proximity Mines.
- Control the Bank and Saloon to keep enemies trapped in spawn rotations.
Pro Loadouts for Maximum Dominance
Aggressive Slayer Loadout (For rushing & clearing rooms)
- Primary: MP5 or AK-74u (with suppressor)
- Secondary: Combat Knife (for quick movement)
- Perks: Ninja, Ghost, and Lightweight
- Lethal/Tactical: Throwing Knife & Flashbang
Support Loadout (For locking down lanes & providing cover)
- Primary: M4 or LMG with extended mags
- Secondary: Handgun with fast reload
- Perks: Tactical Mask, Cold-Blooded, and Flak Jacket
- Lethal/Tactical: Proximity Mine & Smoke Grenade
Sniper Loadout (For controlling long-range engagements)
- Primary: LW3-Tundra Sniper
- Secondary: Silenced Pistol
- Perks: Ghost, Scavenger, and Tracker
- Lethal/Tactical: Claymore & Flashbang
Final Pro Tips for Bounty
- Use sound to your advantage – Enemies often give away their position near Bank or Saloon stairs.
- Pre-fire common spots – When pushing The Church or The Vault, pre-firing can give you the edge.
- Stay unpredictable – If you hold a position too long, enemies will nade-spam you. Keep rotating!
By using these advanced tactics, you’ll dominate Bounty and COD BO6 Gift CP outplay even the toughest opponents. Now get out there and take control!